In this tutorial we will see how to install graphically
CentOS 7 remotely, by connecting to the server via VNC. This guide is especially useful if you are installing in virtualized environments such as VMware, Proxmox, Citrix, etc., where the console is not usable at 100% or do not want to throw us too, all thanks to the change of the parameters of the boot. This tutorial is also valid for the installation of RHEL 7, Fedora and all the various distrbuzioni using Anaconda as Installar. Let us see how to do.
In this example I will use the CentOS ISO 7 by virtualizing the install the distribution on VirtualBox.
Immediately after the ISO and booted the system, the first screen is the following:
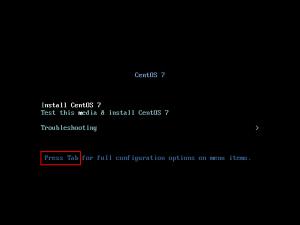
TAB on the keyboard and will appear Default Boot options:
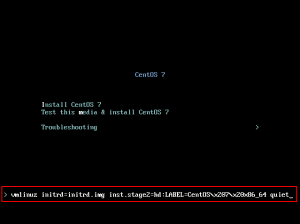
Therefore modify, adding at the end of the string:
inst.vnc resolution=1024x768
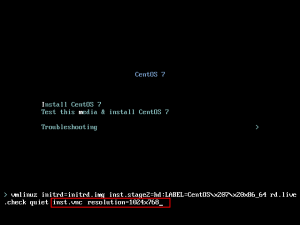
Press Enter and will start the boot of the ISO with the values just added.
NOTE We do note that in this way the assignment of the IP address that will connect distributed via DHCP and will use the first network adapter. If we want to assign a static IP address and use a different network card we have to add the following string:
ip=<ip>::<gateway>:<netmask>:<hostname>:<interface>example:
ip=192.168.10.15::192.168.10.1:255.255.255.0:server2:eth1 inst.vnc resolution=1024×768
Once you boot the distro we will be asked to enter the VNC password in this way:

You can set the password for the vnc boot directly into the string, example:
inst.vnc inst.vncpassword=MiaPassword resolution=1024x768
After this, as you can see from the screen above, we will show the IP address and display that connect
.
We open on our pc and we connect the VNC Client IP:
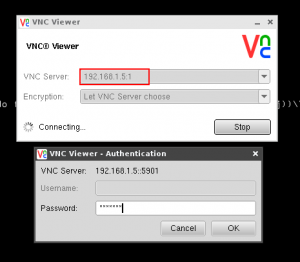
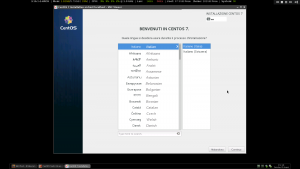
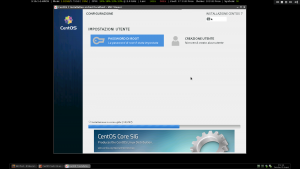
Once connected, we can proceed with the installation of CentOS graphics.
End